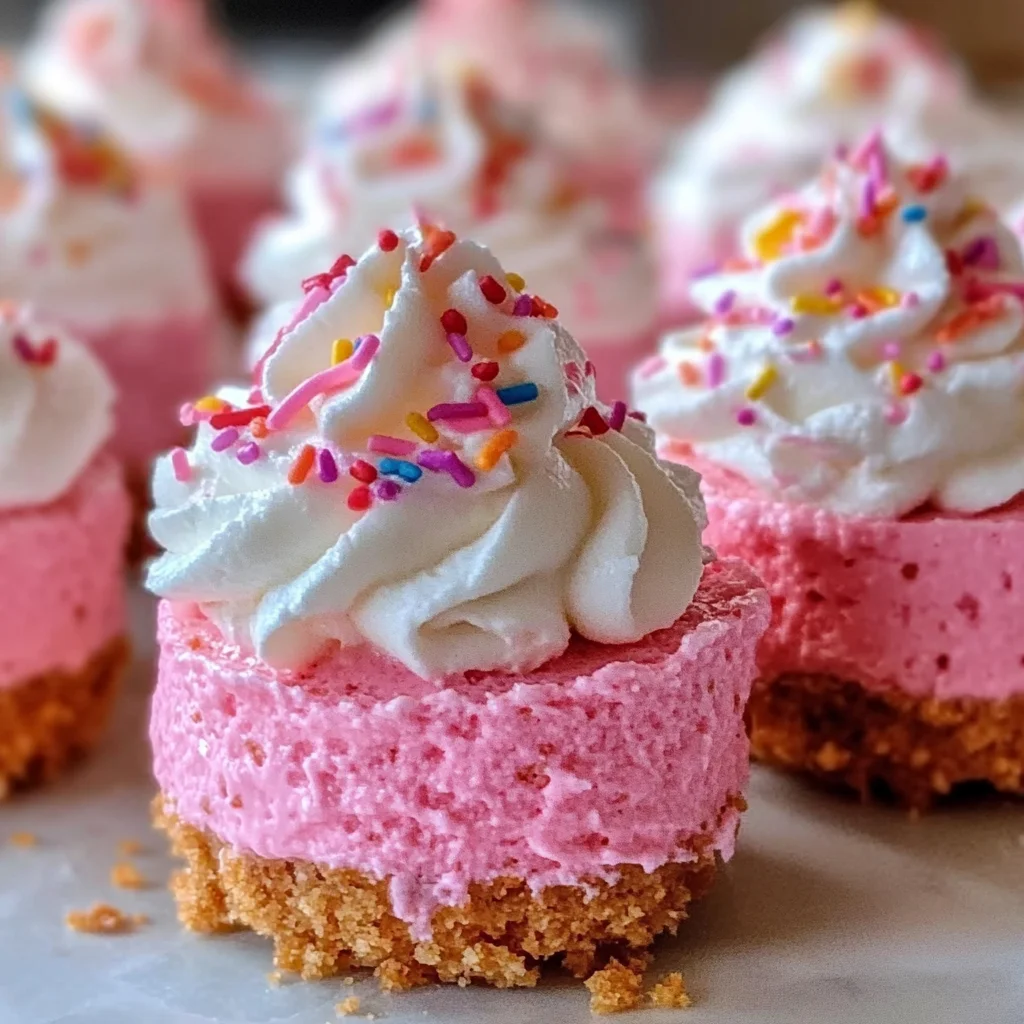
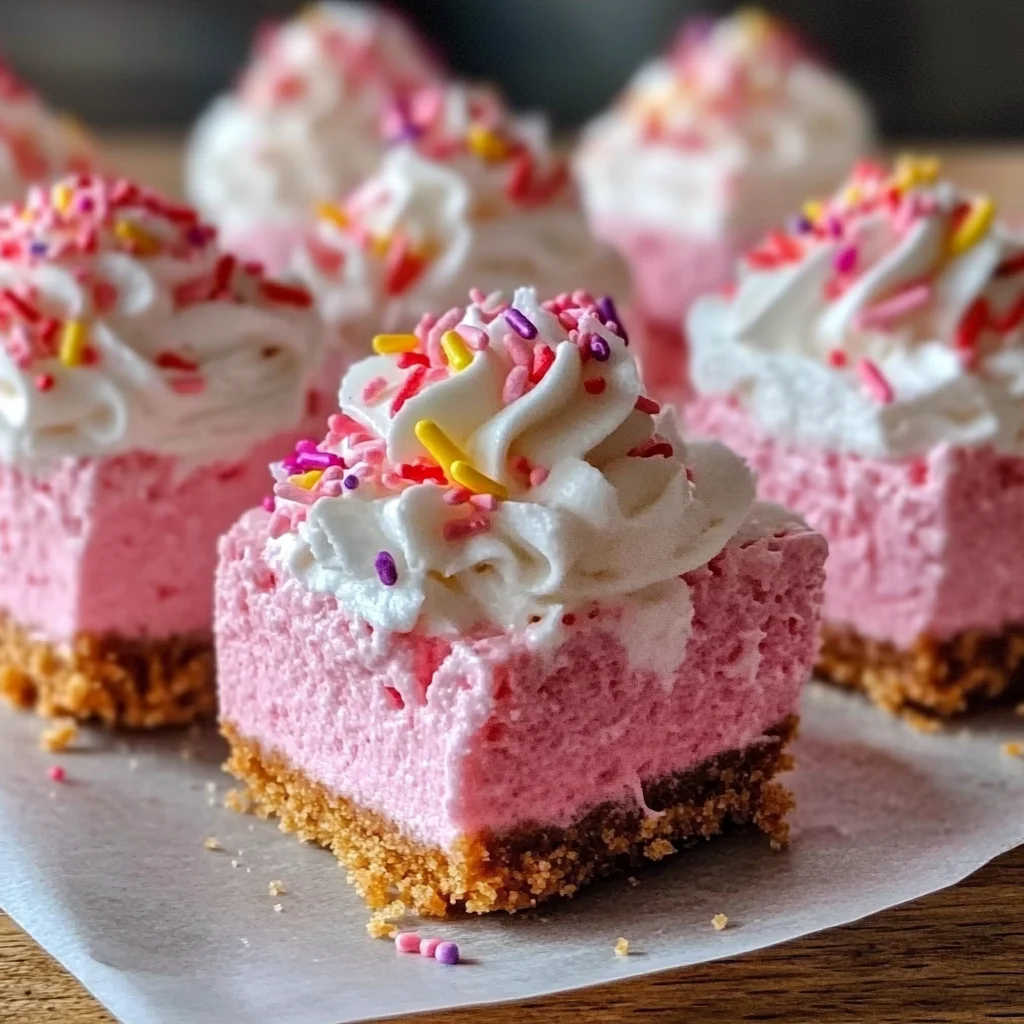
No-Bake Pink Velvet Cheesecake Bites: Creamy Bliss Awaits! These little desserts are perfect for any occasion, from birthday parties to casual gatherings. The vibrant pink hue and creamy texture make them a standout treat. Plus, they’re incredibly easy to prepare with no baking required, allowing you to indulge in their sweetness without the hassle.
Why You’ll Love This Recipe
- Effortless Preparation: No need for baking! Just mix and chill for a stress-free dessert.
- Creamy Delight: The combination of cream cheese and heavy cream creates an indulgently smooth texture.
- Visually Stunning: The bright pink color adds a fun and festive touch to your dessert table.
- Customizable Topping: Top with whipped cream and sprinkles for extra flair or keep it simple for elegant presentations.
- Versatile Option: Perfect for various occasions, from celebrations to casual family dinners.
Tools and Preparation
To make these delightful cheesecake bites, you’ll need a few essential tools. Having the right equipment makes the process smoother and ensures great results.
Essential Tools and Equipment
- Mixing bowls
- Electric mixer
- 9-inch square baking dish
- Spatula
- Measuring cups and spoons
Importance of Each Tool
- Electric mixer: This tool is key for achieving the smooth, creamy texture of the cheesecake filling quickly and effortlessly.
- 9-inch square baking dish: An ideal size for setting your cheesecake bites evenly, ensuring they chill properly.
- Spatula: Helps in spreading the filling evenly over the crust and is great for serving.
Ingredients
For the Crust
- 1 cup graham cracker crumbs
- 1/4 cup granulated sugar
- 1/2 cup unsalted butter, melted
For the Filling
- 16 oz cream cheese, softened
- 1 cup powdered sugar
- 1/2 cup heavy cream
- 1 tsp vanilla extract
- 1 tbsp pink food coloring
For the Topping
- 1/2 cup whipped cream
- Sprinkles (optional)
How to Make No-Bake Pink Velvet Cheesecake Bites: Creamy Bliss Awaits!
Step 1: Prepare the Crust
In a medium bowl, combine graham cracker crumbs, granulated sugar, and melted butter. Mix until well combined. Press the mixture firmly into the bottom of a 9-inch square baking dish to form the crust.
Step 2: Make the Filling
In a large mixing bowl, beat the softened cream cheese until smooth and creamy. Add powdered sugar, heavy cream, vanilla extract, and pink food coloring to the cream cheese. Beat until fully combined and fluffy.
Step 3: Assemble the Cheesecake Bites
Spread the cheesecake filling evenly over the crust. Refrigerate for at least 4 hours or until set.
Step 4: Serve and Enjoy
Once set, top with whipped cream and sprinkle with optional sprinkles before cutting into bite-sized squares. Enjoy your delightful No-Bake Pink Velvet Cheesecake Bites!
How to Serve No-Bake Pink Velvet Cheesecake Bites: Creamy Bliss Awaits!
These delightful cheesecake bites are perfect for any occasion. Whether you’re hosting a party or enjoying a quiet evening at home, serving these treats can elevate your dessert experience.
Individual Cups
- Use small dessert cups to serve individual portions. This makes it easy for guests to grab a bite without any mess.
Party Platter
- Arrange the cheesecake bites on a colorful platter surrounded by fresh berries. This adds a vibrant touch and complements the pink color of the bites.
With Fresh Fruit
- Serve alongside slices of strawberries or raspberries. The tartness of the fruit balances the sweetness of the cheesecake, enhancing each bite.
Drizzled with Chocolate
- Add a drizzle of melted chocolate over the top for an extra indulgent layer. This rich addition pairs beautifully with the creamy texture.
Garnished with Mint
- Top each cheesecake bite with a fresh mint leaf. This not only adds color but also a refreshing flavor that contrasts nicely with the creaminess.
How to Perfect No-Bake Pink Velvet Cheesecake Bites: Creamy Bliss Awaits!
Perfecting your No-Bake Pink Velvet Cheesecake Bites is all about attention to detail and technique. Here are some essential tips to help you achieve creamy bliss!
- Beat cream cheese thoroughly – Ensure your cream cheese is well-beaten until smooth to achieve that velvety texture.
- Chill adequately – Refrigerate your bites for at least 4 hours to allow them to set properly and enhance their flavor.
- Use quality ingredients – Opt for high-quality cream cheese and pure vanilla extract for a richer taste.
- Adjust sweetness – Taste your filling before spreading it on the crust; feel free to adjust sugar levels based on your preference.
- Experiment with colors – For special occasions, try different food coloring shades to match themes or seasons.
- Serve chilled – These cheesecake bites are best served cold, so keep them in the fridge until ready to enjoy!
Best Side Dishes for No-Bake Pink Velvet Cheesecake Bites: Creamy Bliss Awaits!
Pairing side dishes with these pink velvet cheesecake bites can enhance your dessert table and create a well-rounded experience. Here are some fantastic options:
- Fresh Fruit Salad – A mix of seasonal fruits provides a light and refreshing contrast to the rich cheesecake.
- Mini Cupcakes – Offer an assortment of mini cupcakes for variety; flavors like vanilla or lemon can complement the cheesecake nicely.
- Chocolate-Covered Strawberries – These sweet treats add elegance and pair perfectly with the creamy texture of the cheesecake bites.
- Cheese Platter – Include mild cheeses like brie or gouda along with crackers for a savory balance against the sweetness.
- Vanilla Ice Cream – A scoop of vanilla ice cream serves as a classic pairing, adding creaminess and cooling contrast.
- Sweetened Whipped Cream – Serve extra whipped cream on the side for those who love more fluffiness with their dessert!
Common Mistakes to Avoid
When making No-Bake Pink Velvet Cheesecake Bites, it’s easy to overlook small details that can impact the final flavor and texture. Here are some common mistakes and how to avoid them.
-
Ignoring the Cream Cheese Temperature: Using cold cream cheese can lead to lumps in your filling. Let it sit at room temperature for about 30 minutes before mixing.
-
Not Pressing the Crust Firmly: A loose crust will crumble when you cut the cheesecake bites. Ensure you press it down firmly into the baking dish for stability.
-
Adding Too Much Food Coloring: Overdoing the pink food coloring can affect the flavor and texture. Start with a small amount and gradually add until you reach your desired hue.
-
Skipping the Refrigeration Time: Rushing this step can result in a soft filling that doesn’t hold its shape. Allow at least 4 hours in the fridge for proper setting.
-
Using Low-Fat Ingredients: While tempting, low-fat cream cheese or whipped cream can compromise creaminess. Stick with full-fat versions for best results.
Storage & Reheating Instructions
Refrigerator Storage
- Store in an airtight container to keep them fresh.
- They last up to 5 days in the refrigerator without losing flavor or texture.
- Ensure they are completely cooled before sealing to prevent moisture buildup.
Freezing No-Bake Pink Velvet Cheesecake Bites: Creamy Bliss Awaits!
- Wrap each piece individually in plastic wrap to prevent freezer burn.
- Store in a freezer-safe container or bag for up to 2 months.
- Thaw in the refrigerator overnight before serving for best results.
Reheating No-Bake Pink Velvet Cheesecake Bites: Creamy Bliss Awaits!
- Oven: Preheat your oven to 350°F (175°C). Place slices on a baking sheet and warm for about 10-15 minutes.
- Microwave: Use a microwave-safe plate, heat on medium power for 15-20 seconds. Check frequently to avoid melting.
- Stovetop: Use a non-stick skillet over low heat. Cover and warm gently, checking frequently until warmed through.
Frequently Asked Questions
If you have questions about making No-Bake Pink Velvet Cheesecake Bites, you’re not alone! Here are some common inquiries:
Can I make No-Bake Pink Velvet Cheesecake Bites ahead of time?
You can prepare these cheesecake bites up to two days in advance and store them in the refrigerator until ready to serve.
What can I substitute for heavy cream?
For a lighter option, consider using coconut cream or any dairy-free whipping cream as an alternative.
How do I achieve a deeper pink color?
Gradually add more pink food coloring while mixing until you reach your desired shade, but be careful not to overdo it!
Are there gluten-free options available?
Yes! Simply use gluten-free graham crackers instead of regular ones for a delicious gluten-free version.
How should I serve No-Bake Pink Velvet Cheesecake Bites?
These bites are perfect as is, but you can also add fresh fruit or chocolate drizzle for extra flair!
Final Thoughts
No-Bake Pink Velvet Cheesecake Bites are a delightful treat that combines creamy textures with vibrant colors. Their versatility allows for numerous customization options, from changing toppings to adjusting sweetness levels. Whether you’re hosting a gathering or just treating yourself, these cheesecake bites will surely impress everyone who tries them!

No-Bake Pink Velvet Cheesecake Bites
Indulge in the creamy delight of No-Bake Pink Velvet Cheesecake Bites! These vibrant, bite-sized desserts are perfect for any occasion, from festive celebrations to casual family dinners. With their luscious cream cheese filling and stunning pink hue, these cheesecake bites are sure to impress your guests. Best of all, they require no baking—just mix, chill, and serve! Customize with your favorite toppings or enjoy them simply as they are for a delightful treat that will satisfy any sweet tooth.
- Total Time: 0 hours
- Yield: Approximately 16 servings
Ingredients
- 1 cup graham cracker crumbs
- 1/4 cup granulated sugar
- 1/2 cup unsalted butter, melted
- 16 oz cream cheese, softened
- 1 cup powdered sugar
- 1/2 cup heavy cream
- 1 tsp vanilla extract
- 1 tbsp pink food coloring
- 1/2 cup whipped cream
- Sprinkles (optional)
Instructions
- Prepare the crust: In a bowl, combine graham cracker crumbs, sugar, and melted butter. Press into the bottom of a 9-inch square baking dish.
- Make the filling: In a large mixing bowl, beat softened cream cheese until smooth. Add powdered sugar, heavy cream, vanilla extract, and pink food coloring; mix until fluffy.
- Assemble: Spread cheesecake filling over the crust evenly. Refrigerate for at least 4 hours or until set.
- Serve: Cut into squares and top with whipped cream and sprinkles if desired.
- Prep Time: 20 minutes
- Cook Time: None
- Category: Dessert
- Method: No-Bake
- Cuisine: American