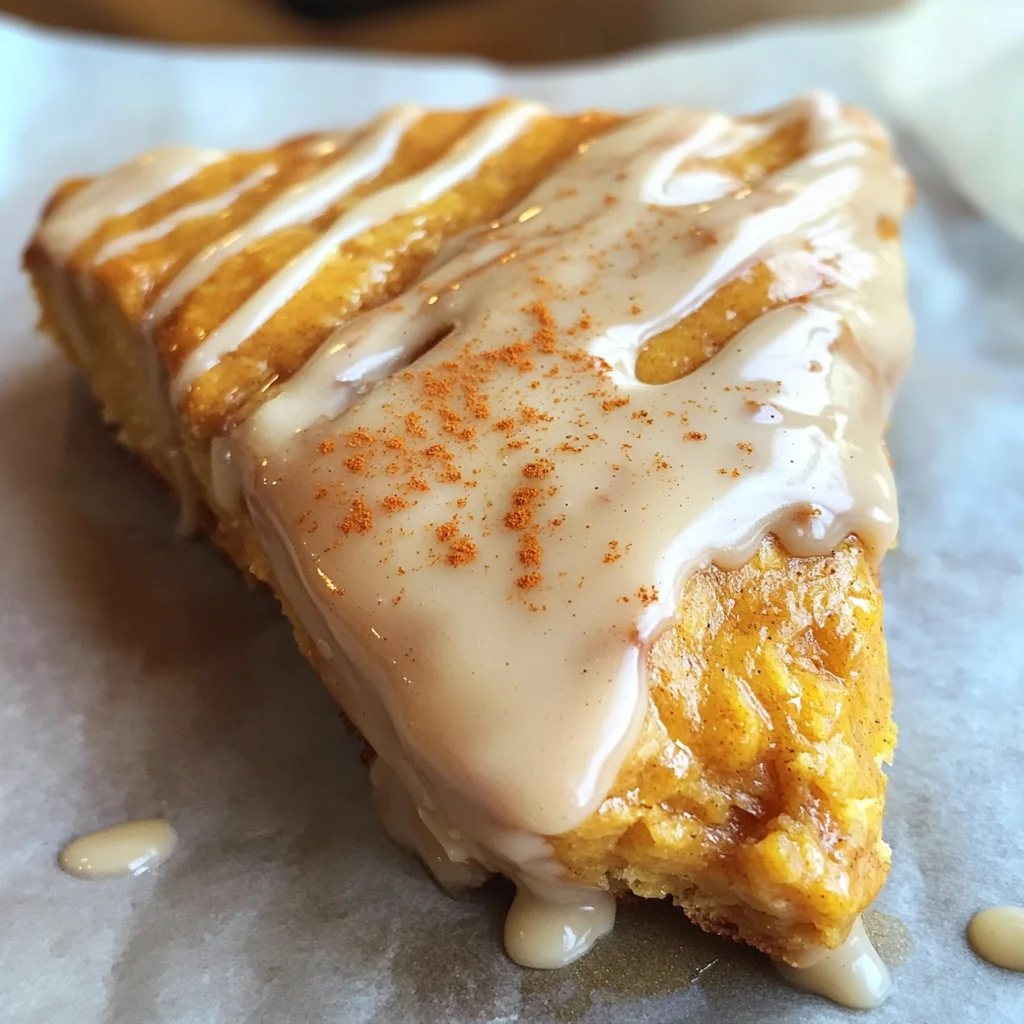
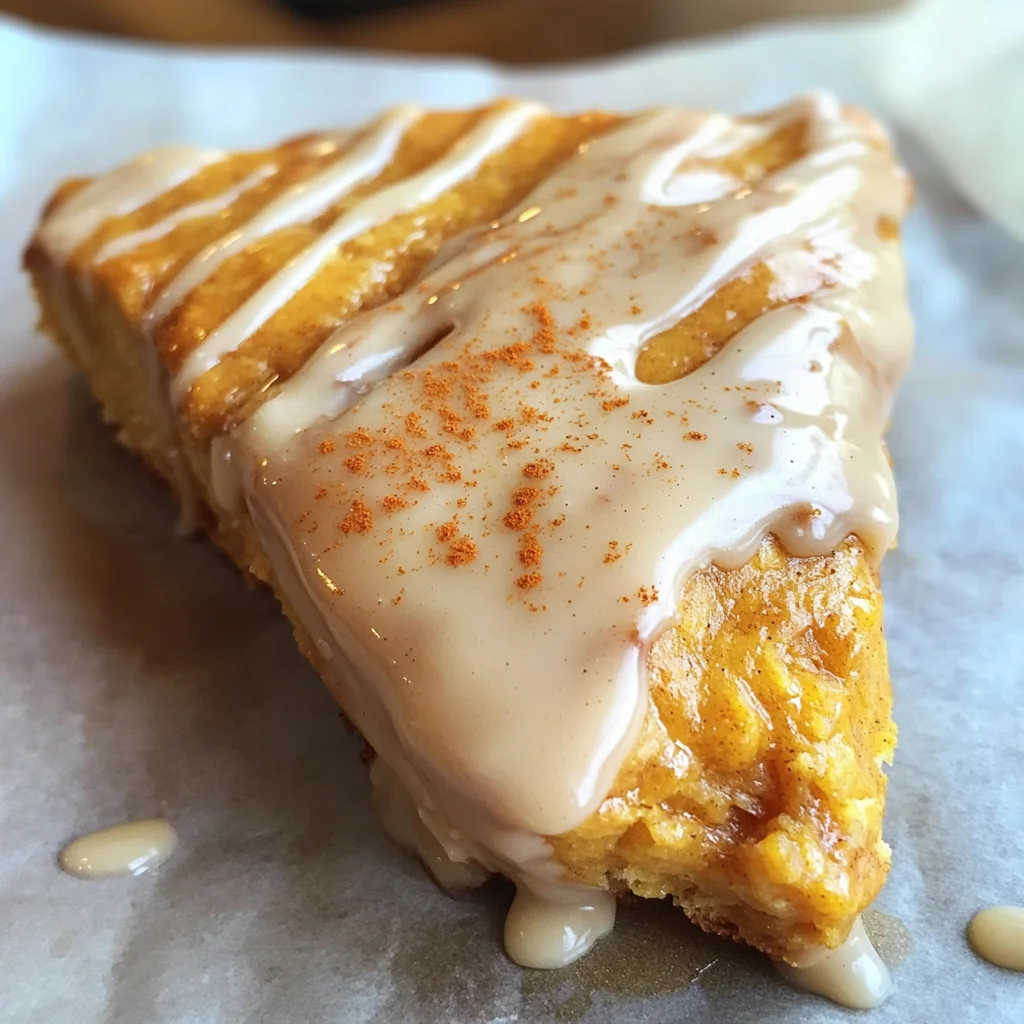
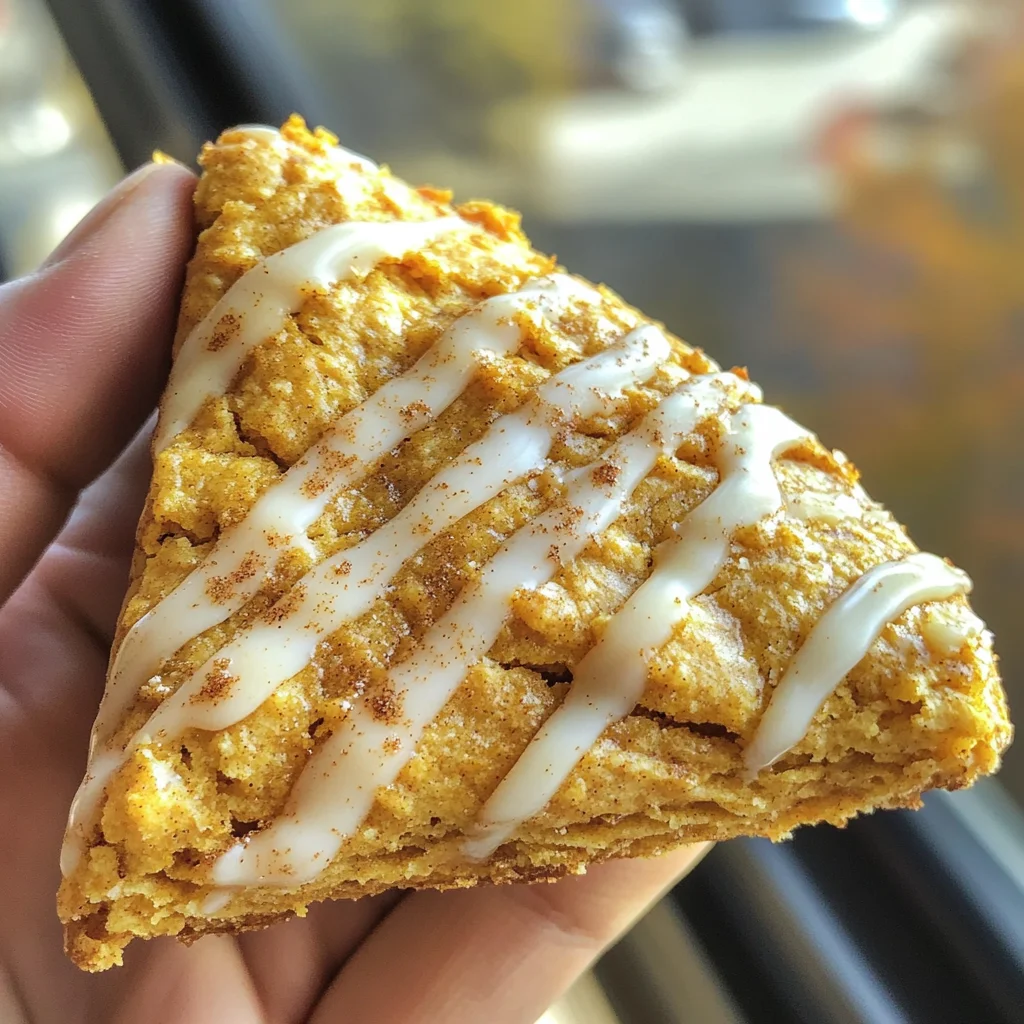
I’ve always found myself drawn to coffee shop pastries, especially the ones at Starbucks. When I see those pumpkin scones, I can’t resist grabbing one alongside my latte. After experimenting with various recipes, I’ve perfected a version that captures that same flavor and texture right at home. In this article, you’ll learn how to make Simple Starbucks Pumpkin Scones – theamazingfood with straightforward instructions and helpful tips.
Why You’ll Love This Recipe
- Perfectly Spiced — The blend of cinnamon, nutmeg, and cloves gives these scones warm flavors that evoke fall.
- Flaky Texture — Using cold butter ensures a light and airy crumb that’s delightful to bite into.
- Quick to Whip Up — You can have these scones ready in about 30 minutes from start to finish.
- Customizable Glaze — The simple icing can be adjusted for sweetness or spice according to your taste.
- Great for Meal Prep — These scones freeze well, making them perfect for quick breakfasts throughout the week.
Ingredients You’ll Need
Main Ingredients:
Simple Starbucks Pumpkin Scones – theamazingfood
- 2 1/4 cups all-purpose flour — Provides structure for the scone.
- 1/3 cup packed brown sugar — Adds moisture and depth of flavor.
- 2 tbsp white sugar — Balances sweetness in the dough.
- 1 tsp ground cinnamon — Enhances the warm spices in the recipe.
- 1/4 tsp ground cloves — Contributes a strong yet pleasant flavor note.
- 1/4 tsp ground ginger — Offers a subtle spiciness that complements pumpkin.
- 1/4 tsp ground nutmeg — Adds warmth and complexity to the flavor profile.
- 1 tsp baking soda — Helps create lift during baking.
- 1/2 tsp baking powder — Works alongside baking soda for better texture.
- 1/4 tsp salt — Balances sweetness and enhances overall flavor.
- 1/2 cup unsalted butter, cold and diced — Creates flakiness when incorporated into flour.
- 1/2 cup chilled pumpkin puree — Keeps the dough moist while giving it that classic pumpkin flavor.
- 1/4 cup cold milk — Hydrates dry ingredients without warming them up too much.
- 1 cold egg — Binds everything together while adding richness.
- 1 tsp vanilla extract — Adds depth of flavor in both the scone and glaze.
For Glaze:
- 1 cup powdered sugar — Sweetens and thickens the glaze mixture.
- 2–3 tbsp heavy cream — Adjusts consistency; more cream leads to a thinner glaze if desired.
- 1 tbsp powdered sugar (for decoration)— Provides an additional touch of sweetness on top of the glaze.
- 1/4 tsp pumpkin puree: A hint of pumpkin enhances color and flavor in the glaze.
- 1/4 tsp pumpkin pie spice: Complements the flavors of your batch beautifully.
Smart Substitutions:
- Instead of all-purpose flour: Use whole wheat flour for a heartier texture, but expect denser scones.
- Instead of heavy cream: Try milk or almond milk—this will yield a slightly less rich glaze.
- Instead of unsalted butter: Use coconut oil as a dairy-free option; it will impart a different taste but still works well.
Pro Tip:
Always use chilled ingredients. Cold butter helps create that desirable flaky texture you want in your scones.
How to Make Simple Starbucks Pumpkin Scones – theamazingfood
Quick Prep Checklist:
- Preheat your oven to 425°F (220°C).
- Line a baking sheet with parchment paper.
Step 1: Combine Dry Ingredients
In a large bowl, whisk together all-purpose flour, brown sugar, white sugar, baking powder, baking soda, salt, cinnamon, cloves, ginger, and nutmeg until fully combined. You want an even distribution of spices throughout so each bite is flavorful.
Tip: Ensure your spices are fresh; old spices can diminish flavor significantly.
Step 2: Cut in Butter
Add diced cold butter into your dry mixture using a pastry cutter or two forks until it resembles coarse crumbs with some small pea-sized pieces remaining. This process is crucial for creating flakiness in your baked goods.
Watch For: The mixture should look like wet sand with visible chunks of butter still intact.
Step 3: Mix in Wet Ingredients
Create a well in the center of your dry mix; add chilled pumpkin puree, cold milk, egg, and vanilla extract. Stir gently until just combined—don’t overmix as this can lead to tough scones.
You’ll Know It’s Ready When: The dough holds together but may appear slightly sticky.
Step 4: Shape Dough
Flour your work surface lightly and turn out your dough onto it. Gently knead it only enough times for it to come together (about five times), then form it into an approximate circle about one inch thick before cutting into wedges or circles based on preference.
This step is key as overworking will affect texture negatively.
Step 5: Bake
Place your shaped scones on prepared baking sheet about two inches apart; bake them for 15–18 minutes until lightly golden on top—and they should feel firm when touched gently with your finger.
Let them cool on wire racks before glazing.
✅ Perfect Results Checklist:
* Light golden-brown color on top
* Slightly crisp edges yet soft inside
* Pleasant aroma filling your kitchen
Expert Tips & Variations
3 Pro Tips:
- Chill Your Dough: If time allows, refrigerate shaped scone dough for about 20 minutes before baking—this enhances flakiness even further!
- Add Chocolate Chips: Mix in semi-sweet chocolate chips for additional richness; they melt slightly during baking but keep their shape well within each bite!
- Glaze Variations: Experiment with maple syrup instead of heavy cream for unique flavors reflecting autumn vibes!
3 Variations to Try:
- Nutty Pumpkin Scones: Add chopped walnuts or pecans into your batter—these add crunchiness along with healthy fats!
- Cranberry Orange Twist: Incorporate dried cranberries along with some orange zest—this adds tangy brightness against sweet spices!
- Pumpkin Spice Latte Scone Version: Blend instant coffee granules right into wet ingredients—it mirrors beloved seasonal drinks perfectly!
Common Mistakes to Avoid
Mistake #1: Overmixing Dough
When you overmix dough after adding wet ingredients, it becomes tough instead of tender due to gluten development. Avoid this by mixing just until no dry spots remain visible—remember gentle hands work best here!
Mistake #2: Using Warm Ingredients
If any ingredient gets too warm (especially butter), expect flat rather than fluffy results once cooked due temperature issues affecting rise capabilities during baking timeframes! Always keep everything chilled beforehand whenever possible.
Mistake #3: Skipping Baking Sheet Preparation
Baking straight onto an ungreased pan often leads either sticking disasters upon removal or uneven browning spots throughout baked goods ultimately ruining final presentation! Always use parchment paper as insurance against sticking woes!
Storage & Reheating
Room Temperature: Store leftovers wrapped tightly at room temperature for up to two days without losing freshness.
Refrigerator: Place them in an airtight container where they’ll stay fresh up to one week maximum duration!
Freezer: Wrap individual cooled scones tightly with plastic wrap then place inside resealable bags—good up six months frozen safely!
Reheating:
* OVEN: Preheat oven at 350°F (175°C) then heat wrapped pieces directly on rack around ten minutes which restores slight crispness quickly!
MICROWAVE: Use medium power settings heating intervals around fifteen seconds each time checking regularly so avoid drying out chances occurring accidentally!
STOVETOP: Choose nonstick skillet over low flame covering simply retains moisture while providing soft warmth effect similar freshly made!
Frequently Asked Questions
Can I make these ahead of time?
Yes! You can prepare these scones ahead by shaping them first then freezing immediately prior cooking times—just extend bake times slightly longer when pulling straight from freezer!
How do I know when they are done?
These brownies are done when tops appear golden-brown while lightly springing back when pressed gently around edges indicating proper doneness achieved inside!
Can I substitute fresh pumpkin?
Certainly! If using fresh roasted pumpkin instead ensure it’s pureed smoothly without excess water content because sogginess affects final result adversely compared canned options typically utilized otherwise more convenient choice!
What do I do if my dough is too sticky?
If sticky beyond manageability simply sprinkle little extra flour working gradually through until achieving workable consistency eliminating overly tacky nature making handling easier ultimately producing desired shapes successfully baked afterward!
Final Thoughts
Craving those coffee shop flavors? Your batch will deliver that comforting experience right at home without fussing over complex steps or ingredients you’ve never used before—all while being extremely enjoyable shared amongst friends & family alike!
Try out these Simple Starbucks Pumpkin Scones – theamazingfood today—I guarantee you’ll appreciate knowing every single component included perfectly matched back towards those delectable moments enjoyed previously outside now brought indoors comfortably within reach anytime desired!
Loved this recipe? Leave a comment below—I read every one! Rate it ⭐⭐⭐⭐⭐ and share it with a friend who’d love it.
Focus keyphrase: Simple Starbucks Pumpkin Scones – theamazingfood
SEO title: Easy Pumpkin Scone Recipe That Tastes Like Fall’s Best Treats
Meta description: Make simple Starbucks-style pumpkin scones at home effortlessly with easy steps & tips from Simple Starbucks Pumpkin Scones – theamazingfood. Start baking now!
Focus keyphrase synonyms: Starbucks-style pumpkin scone recipe, homemade pumpkin pastry recipe, easy fall dessert idea at home, how to make perfect pumpkin scones easily

Simple Starbucks Pumpkin Scones
Indulge in the warm, cozy flavors of fall with these Simple Starbucks Pumpkin Scones. Each bite reveals a tender, flaky texture and a delightful aroma that fills your kitchen as they bake. Perfect for breakfast or an afternoon treat, these scones can be customized with add-ins like chocolate chips or nuts for an extra twist.
- Total Time: 25 minutes
- Yield: 8 servings
Ingredients
- 2 1/4 cups all-purpose flour
- 1/3 cup packed brown sugar
- 2 tbsp white sugar
- 1 tsp ground cinnamon
- 1/4 tsp ground cloves
- 1/4 tsp ground ginger
- 1/4 tsp ground nutmeg
- 1 tsp baking soda
- 1/2 tsp baking powder
- 1/4 tsp salt
- 1/2 cup unsalted butter, cold and diced
- 1/2 cup chilled pumpkin puree
- 1/4 cup cold milk
- 1 cold egg
- 1 tsp vanilla extract
- 1 cup powdered sugar (for glaze)
- 2–3 tbsp heavy cream (for glaze)
- 1 tbsp powdered sugar (for decoration)
- 1/4 tsp pumpkin puree (for glaze)
- 1/4 tsp pumpkin pie spice (for glaze)
Instructions
- Preheat your oven to 425°F (220°C) and line a baking sheet with parchment paper.
- In a large bowl, whisk together the flour, brown sugar, white sugar, baking powder, baking soda, salt, cinnamon, cloves, ginger, and nutmeg until combined; the spices should be evenly distributed.
- Cut in the cold diced butter using a pastry cutter or two forks until the mixture resembles coarse crumbs with some pea-sized pieces remaining; it should look like wet sand.
- Create a well in the center of the dry mixture and add the pumpkin puree, cold milk, egg, and vanilla extract; stir gently until just combined without overmixing.
- Lightly flour your work surface and turn out the dough; knead gently about five times before forming it into a circle about one inch thick and cut into wedges or circles.
- Place the shaped scones on the prepared baking sheet about two inches apart; bake for 15–18 minutes until lightly golden on top and firm when touched.
- Allow them to cool on wire racks before glazing.
- Prep Time: 10 minutes
- Cook Time: 15 minutes
- Category: Breakfast
- Method: Baking
- Cuisine: American